A handstand push up can seem impossible. Many people start their CrossFit career terrified of even trying to get upside down, much less lowering their entire body weight onto their head and pushing it back up off the floor.
However, handstand push ups are one of the hallmark movements of the “Cool Kid’s CrossFit Club.” Whenever you want to show out for your non-CrossFit friends, it’s a surefire movement that will make them ooh and aah.
A handstand push up doesn’t have to be out of reach. Does it take an incredible amount of upper body strength, technique, and core strength? Yes. But luckily for you readers, CrossFit is extremely scalable and through lots of practice, you too can join the club and wow your friends with your acrobatic prowess.
How to Do a Hand Stand Push Up
Disclaimer: Every coach has different drills, methods and beliefs when it comes to what they think is appropriate for their athletes.
Although these are some of our favorite drills — and drills that we have found to be very effective — there are always certainly other ways to learn how to do a handstand push up. Have a conversation with your coach about what methods and drills are best for you and your skill level.
Strict Press
If you’re struggling with a handstand push up, chances are you don’t have a bodyweight strict press. The same muscles you use to engage a strict press — the core, the shoulders, the chest and the back — are the same primary muscle groups that are going to engage when you’re doing a HSPU, just inverted.
The best way to strengthen those muscles? Use them, over and over again. Try incorporating some accessory work with strict presses two to three times a week over the course of several months and watch your handstand push ups improve.
Using Plates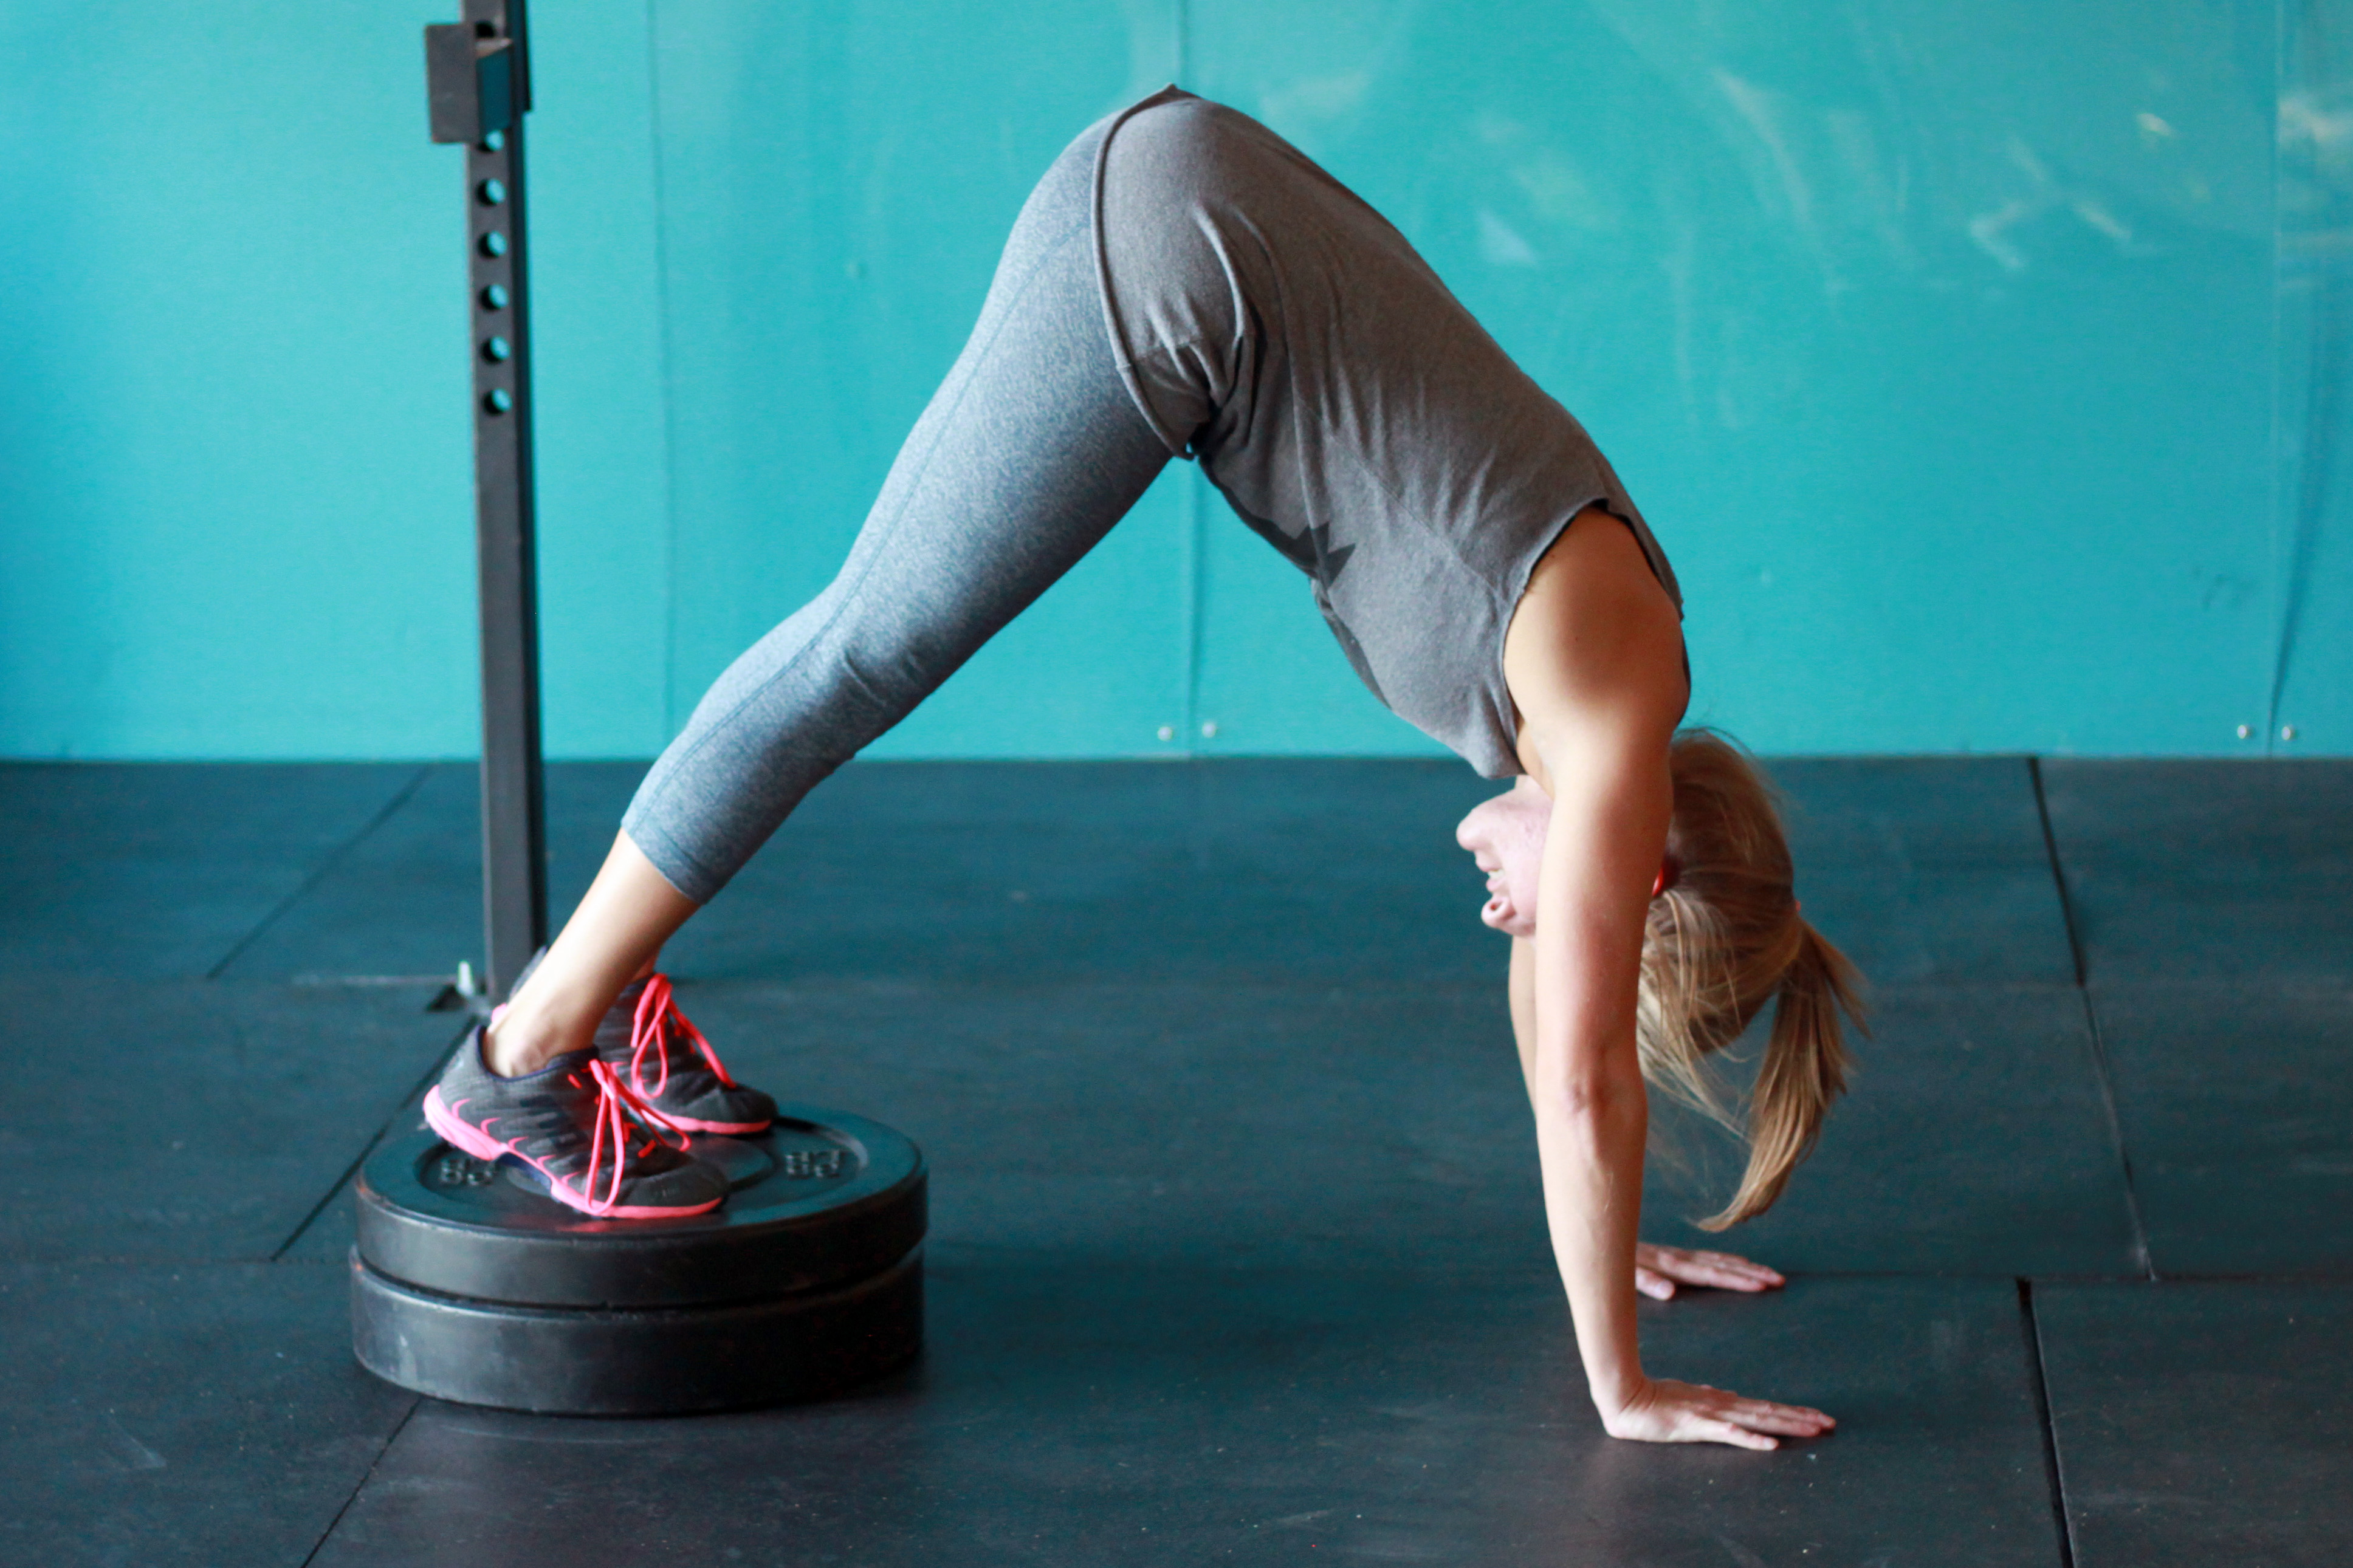
Nervous about getting upside down? We’ve got a scale for that.
If you want to practice the range of motion but aren’t quite comfortable putting your head under your ankles yet, grab a couple of 45-pound plates and stack them on top of each other.
Stand on the plates and then bend at the waist and do push ups with your body at a 45 degree angle. Make sure to get your shoulders and your hips aligned — or as close as possible — for the maximum effect.
These are also sometimes called pike push ups and can be done with or without a plate underneath your feet, depending on your mobility and comfort.
Seated Dumbbell Presses
If you’re still not sure about this whole upside down business, try out some seated dumbbell presses.
Sit with your legs straight ahead of you on the floor and push dumbbells from your shoulders up and then slowly lower them back down. Focus on really squeezing your core and booty and keeping your shoulders and lats engaged. This will continue to build that strength chain in your upper body necessary to push your body weight off the floor.
Using a Box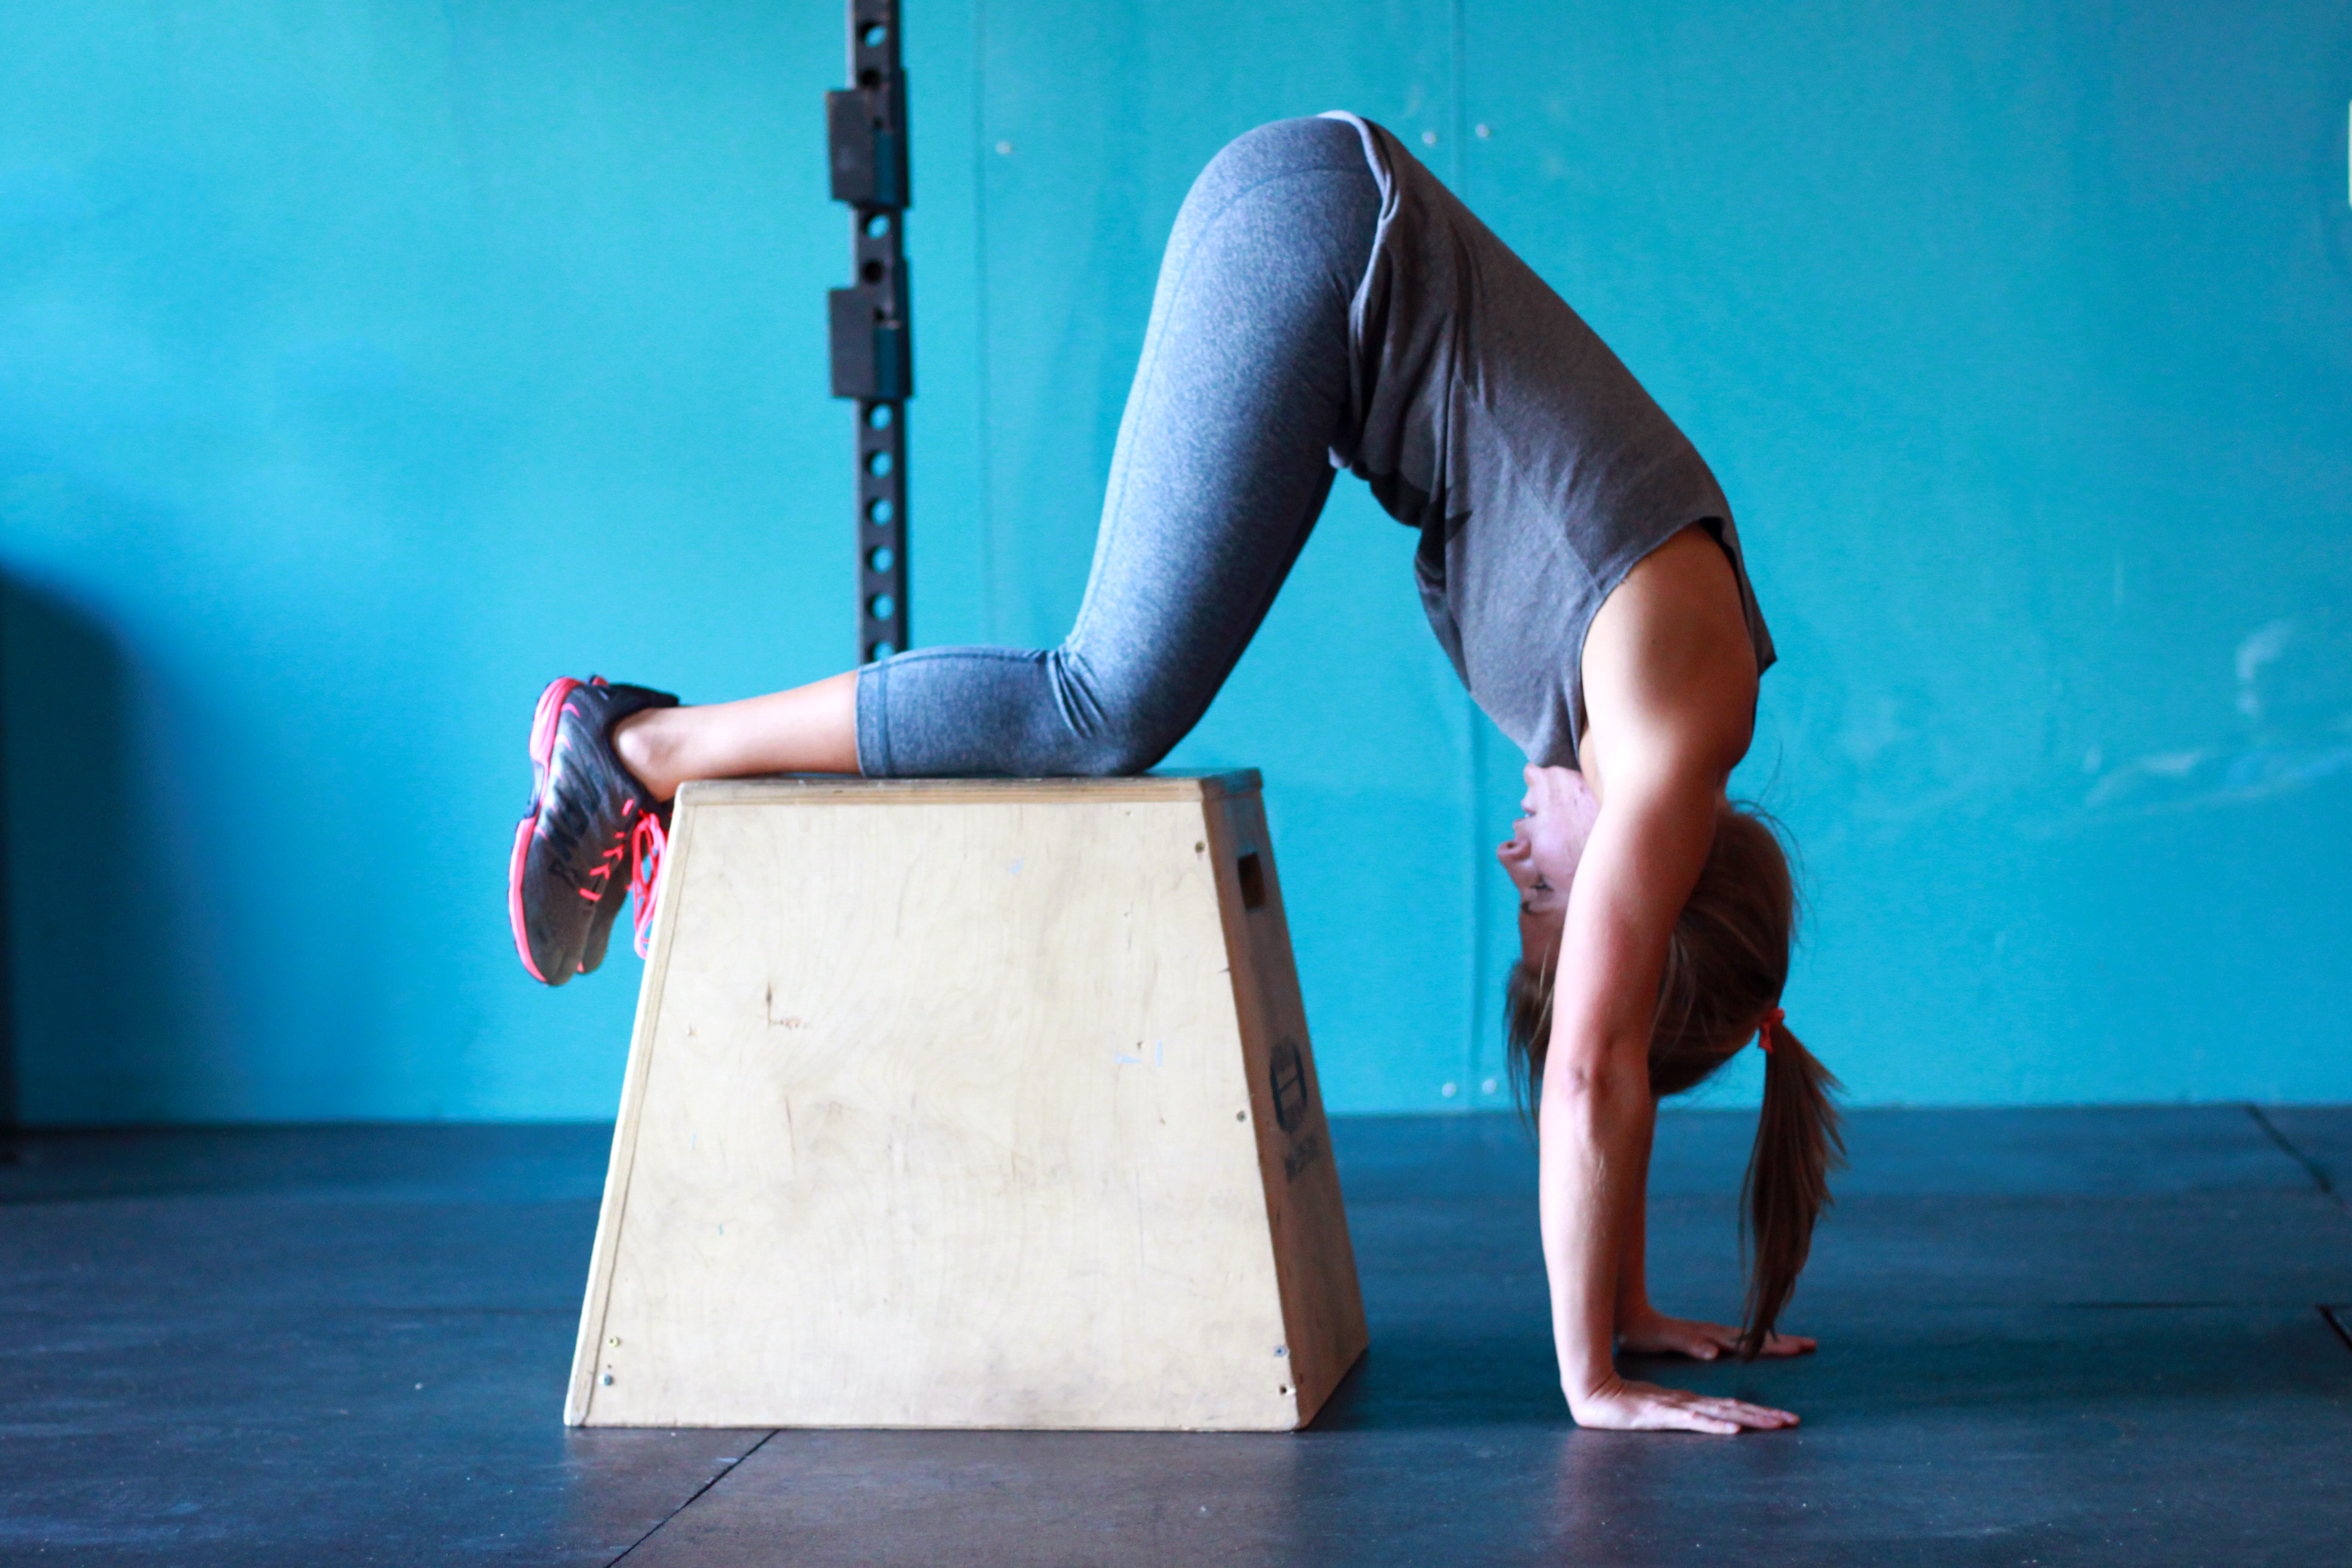
If you’re comfortable working with the plates, it’s time to take a step up, quite literally, to the boxes.
Grab a tall box — 24 to 30 inches would be appropriate for most people. When using the box, you will sit on your knees (grab an AbMat if that’s uncomfortable for you) and then hang off the side to do your push ups.
When you use this method, your body should be about 50 percent inverted — everything from your hips up should be in handstand mode. It is really important to keep your shoulders and hips aligned and to keep a neutral spine while doing these in order to maximize their effectiveness. This is sometimes easier said than done — those that struggle with shoulder mobility may have a harder time getting in line.
If you’re still nervous about diving off the side of the box — even though I’m still the only person I know that has flipped off this way — grab some AbMats to place underneath your head, working your way down to doing them to the floor.
Handstand Holds
Once you’re finally comfortable kicking up into a handstand, the next step is simply to do handstands and a lot of them.
You need to get comfortable being upside down and you need to build the strength and the stamina to hold yourself upside down for longer periods of time. Start off shooting for a five-second handstand hold against the wall. Once you’ve met that goal, graduate up to 10 seconds and so on.
The AbMat Method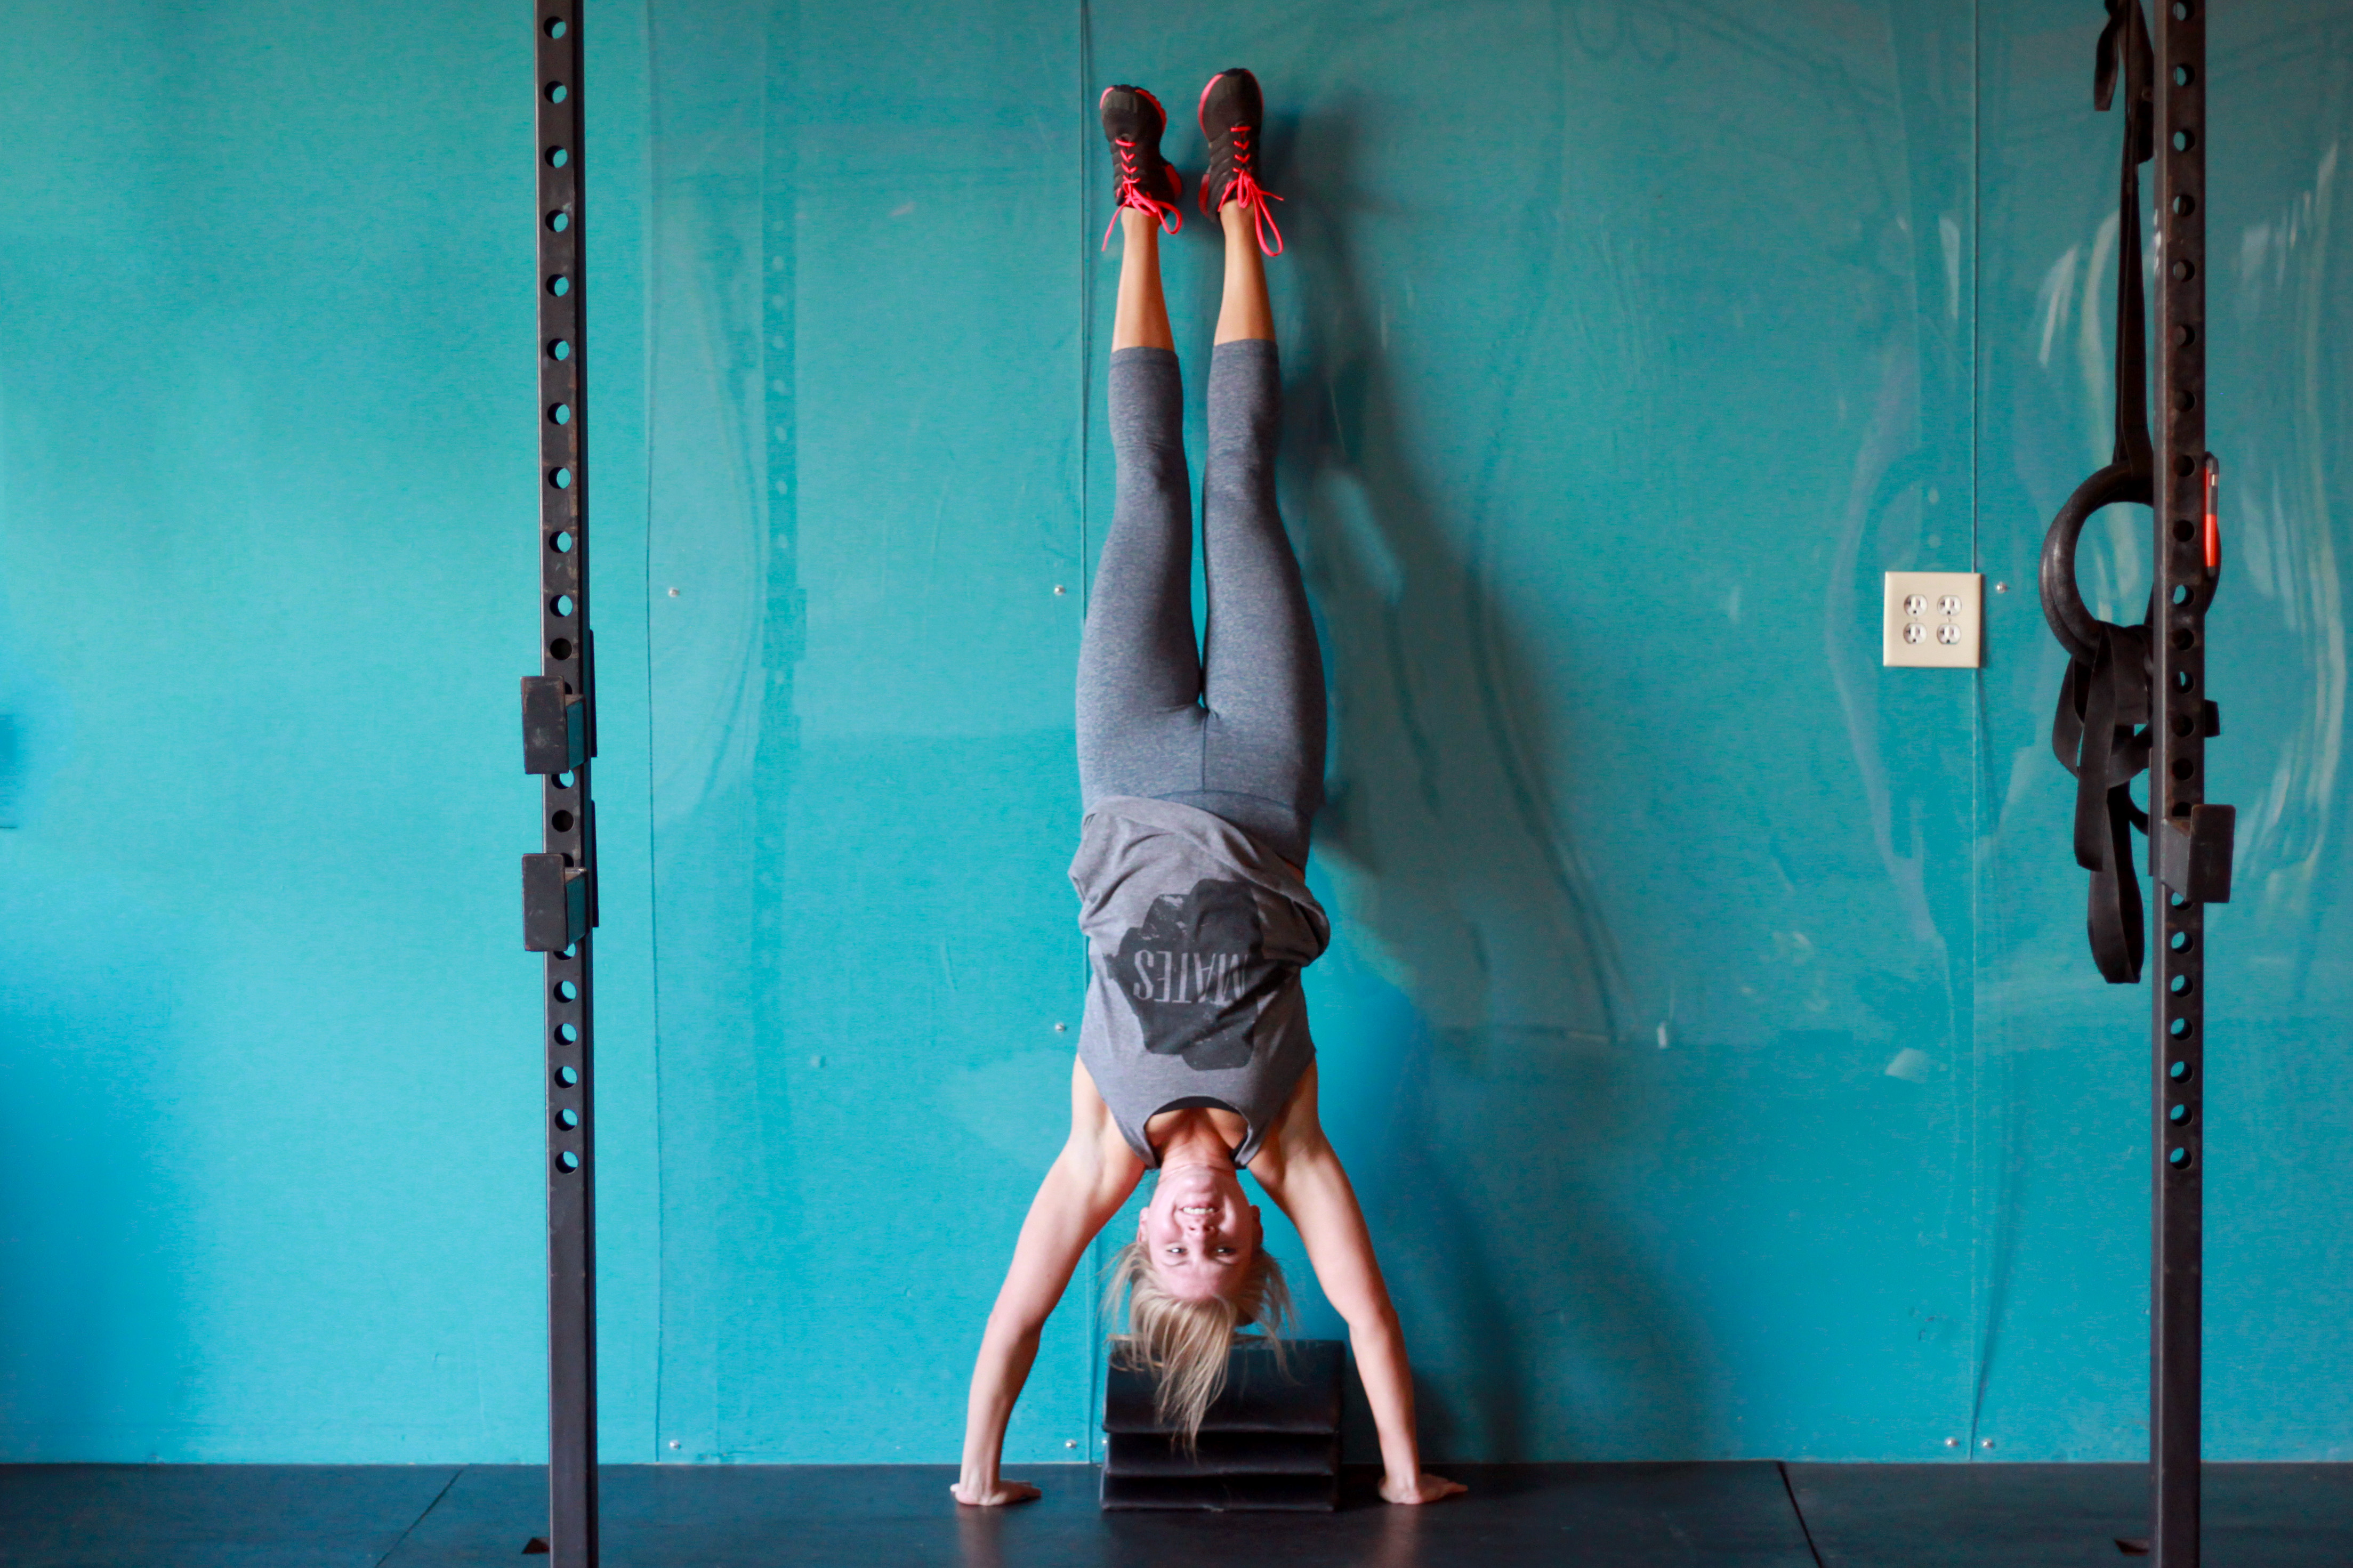
Once you’ve established a solid handstand hold, you can finally start working on flexxxxxxxxxxin’ those arms using the AbMat Method.
The AbMat Method, also referred to as reducing the range of motion, entails stacking up to three AbMats beneath your head. This is perfect because it helps you to build strength while gradually reducing the number of AbMats beneath you and it also helps with worrying about splitting your head like a watermelon.
Start with three mats and once you can consistently touch that top mat with your head throughout a WOD, reduce the number of mats. Keep practicing this until you can remove the second mat and voilà — you’re doing a handstand push up.
When you first begin, it’s okay if you’re just barely wiggling your elbows. The important thing is that your keeping your body aligned, your core tight, and that you are slowly but surely building strength.
Handstand Push Up Negatives
Another way to build strength in your shoulders and back while employing the AbMat method is by doing hand stand push up negatives. This means kicking up into a hand stand and then slowly lowering yourself, controlling the movement until your head touches the mat. Negatives can be very effective for building strength for bodyweight movements.
The Band Method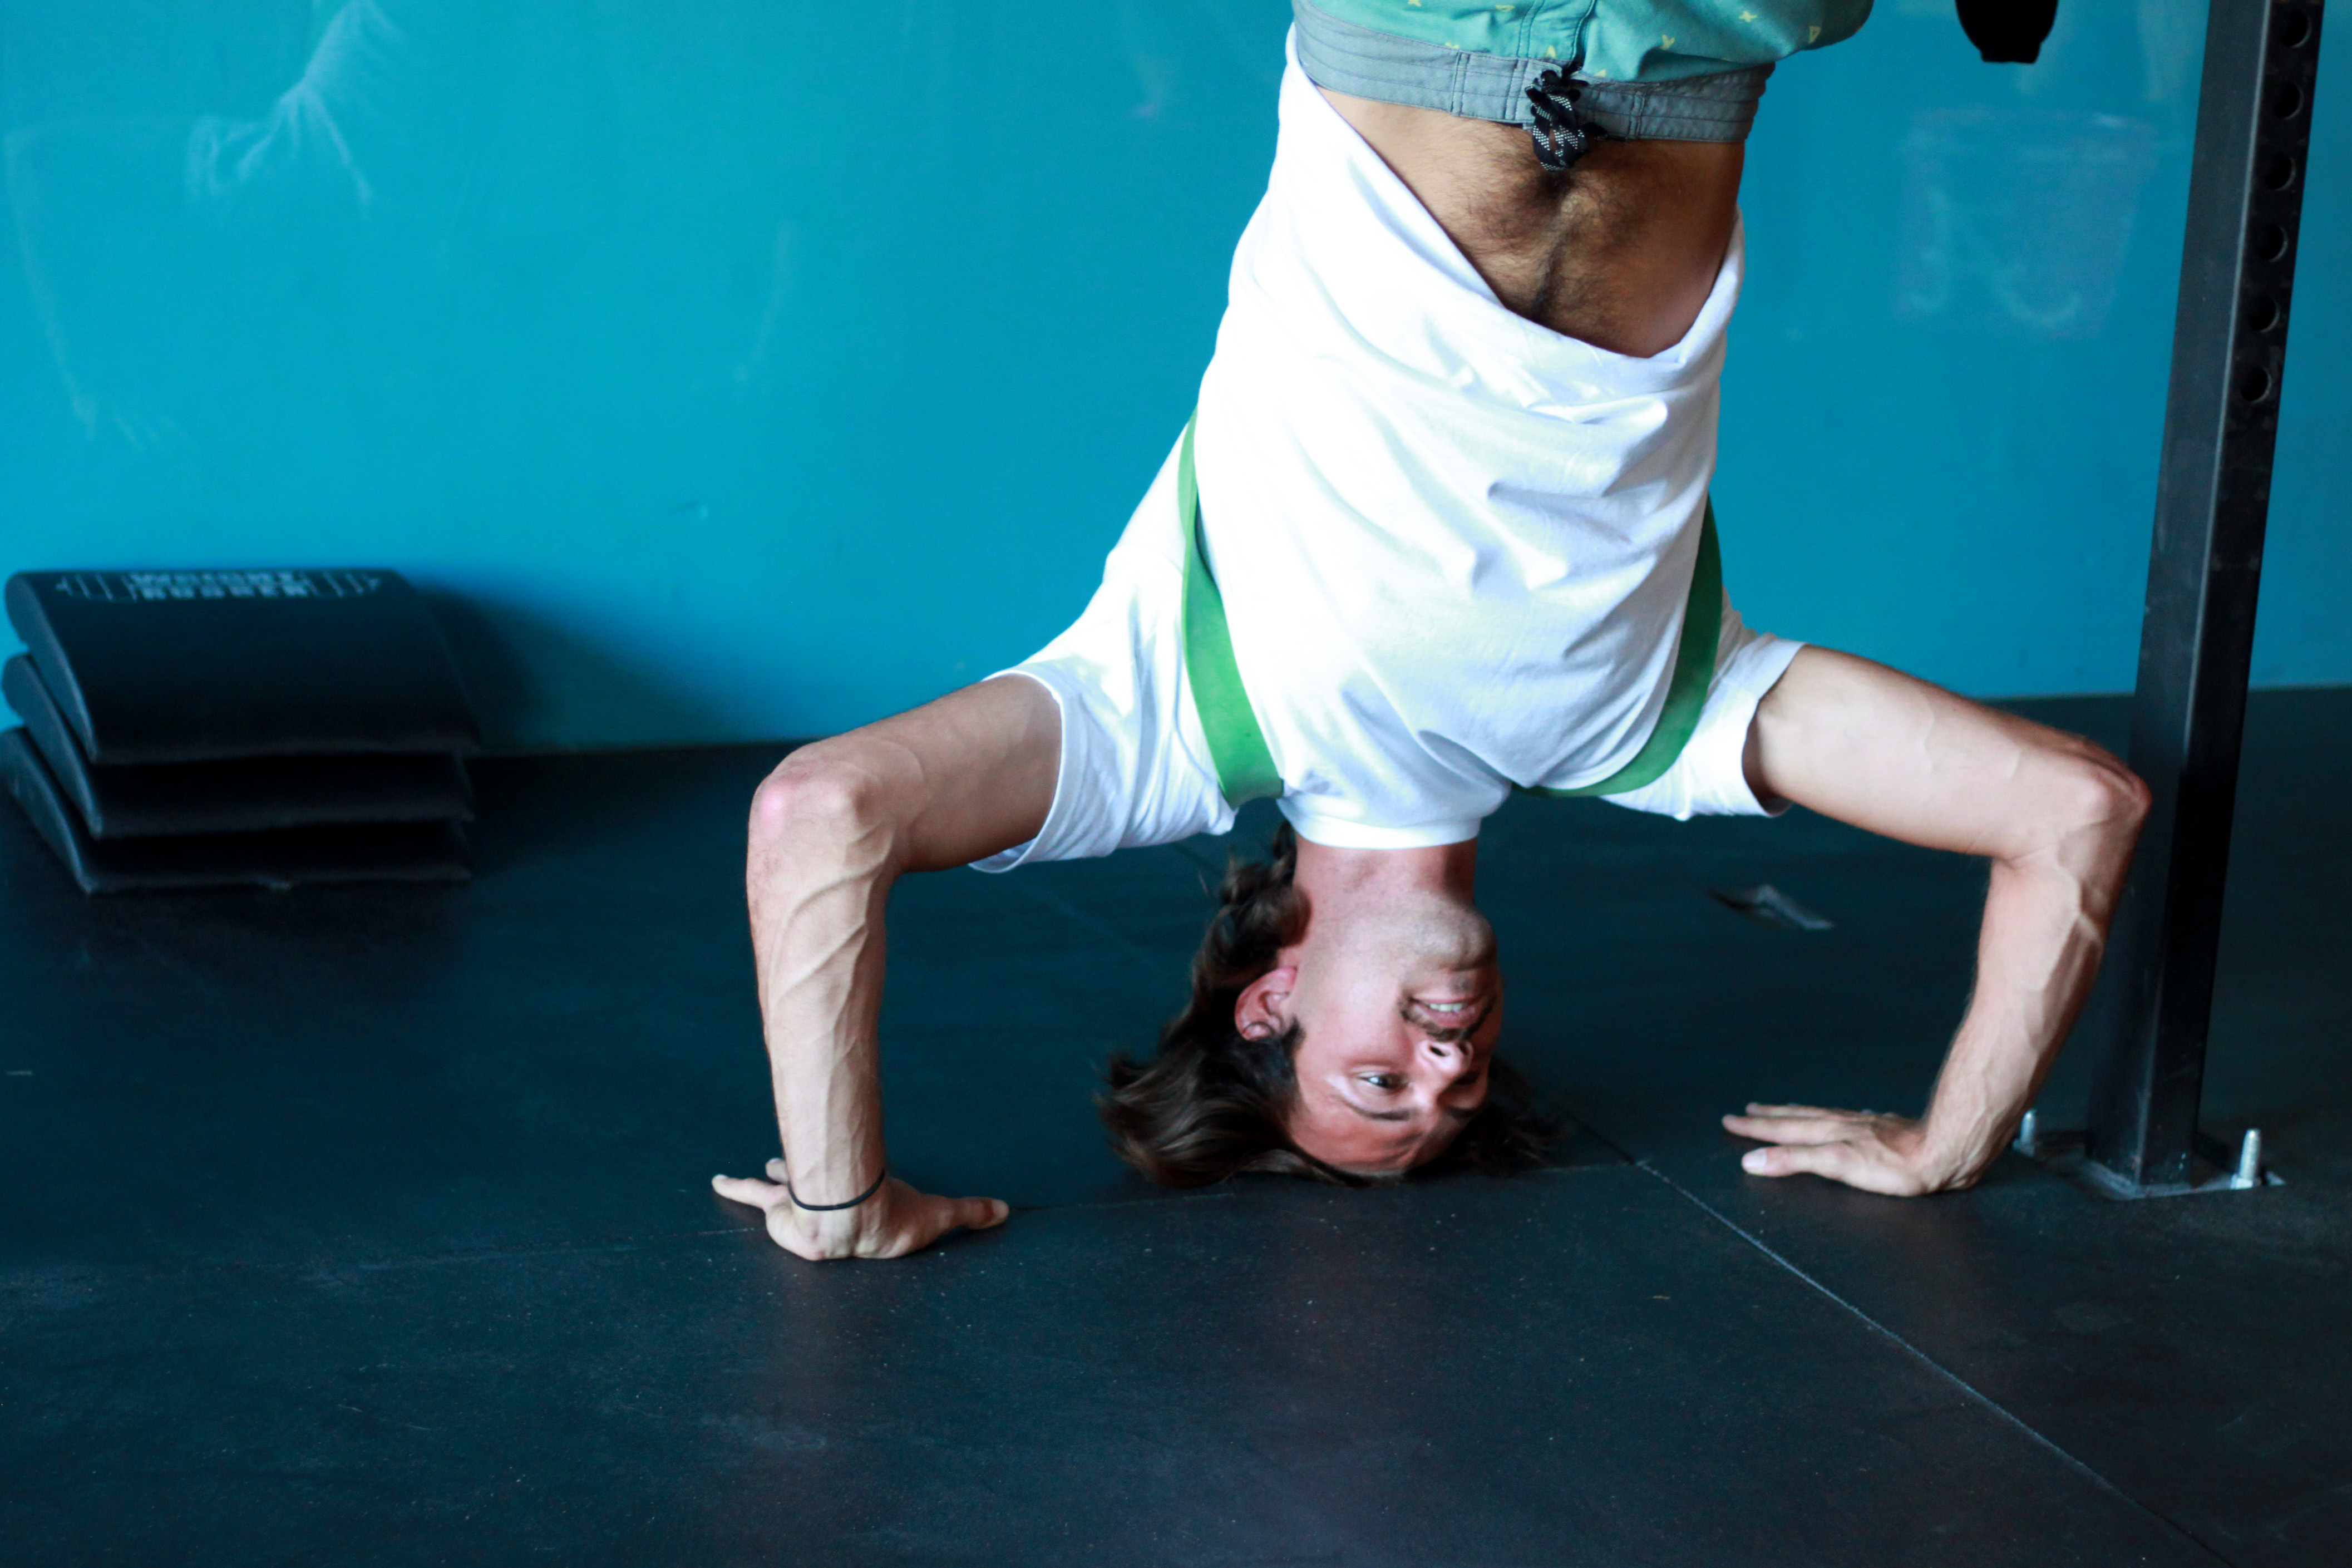
Let’s preface this with a warning: use a spotter when employing the band method ALWAYS.
The band method involves taking two stretchy or assistive bands and attaching them to the rig to essentially create a harness.
You will fasten one band — preferably one of the less flexible ones — around the rig and then run the other one parallel to the rig through the bottom of the first band, making a backpack-like harness. You will then place your arms through each of the holes and hand stand into the harness and use the spring from the bands to assist you into a handstand. 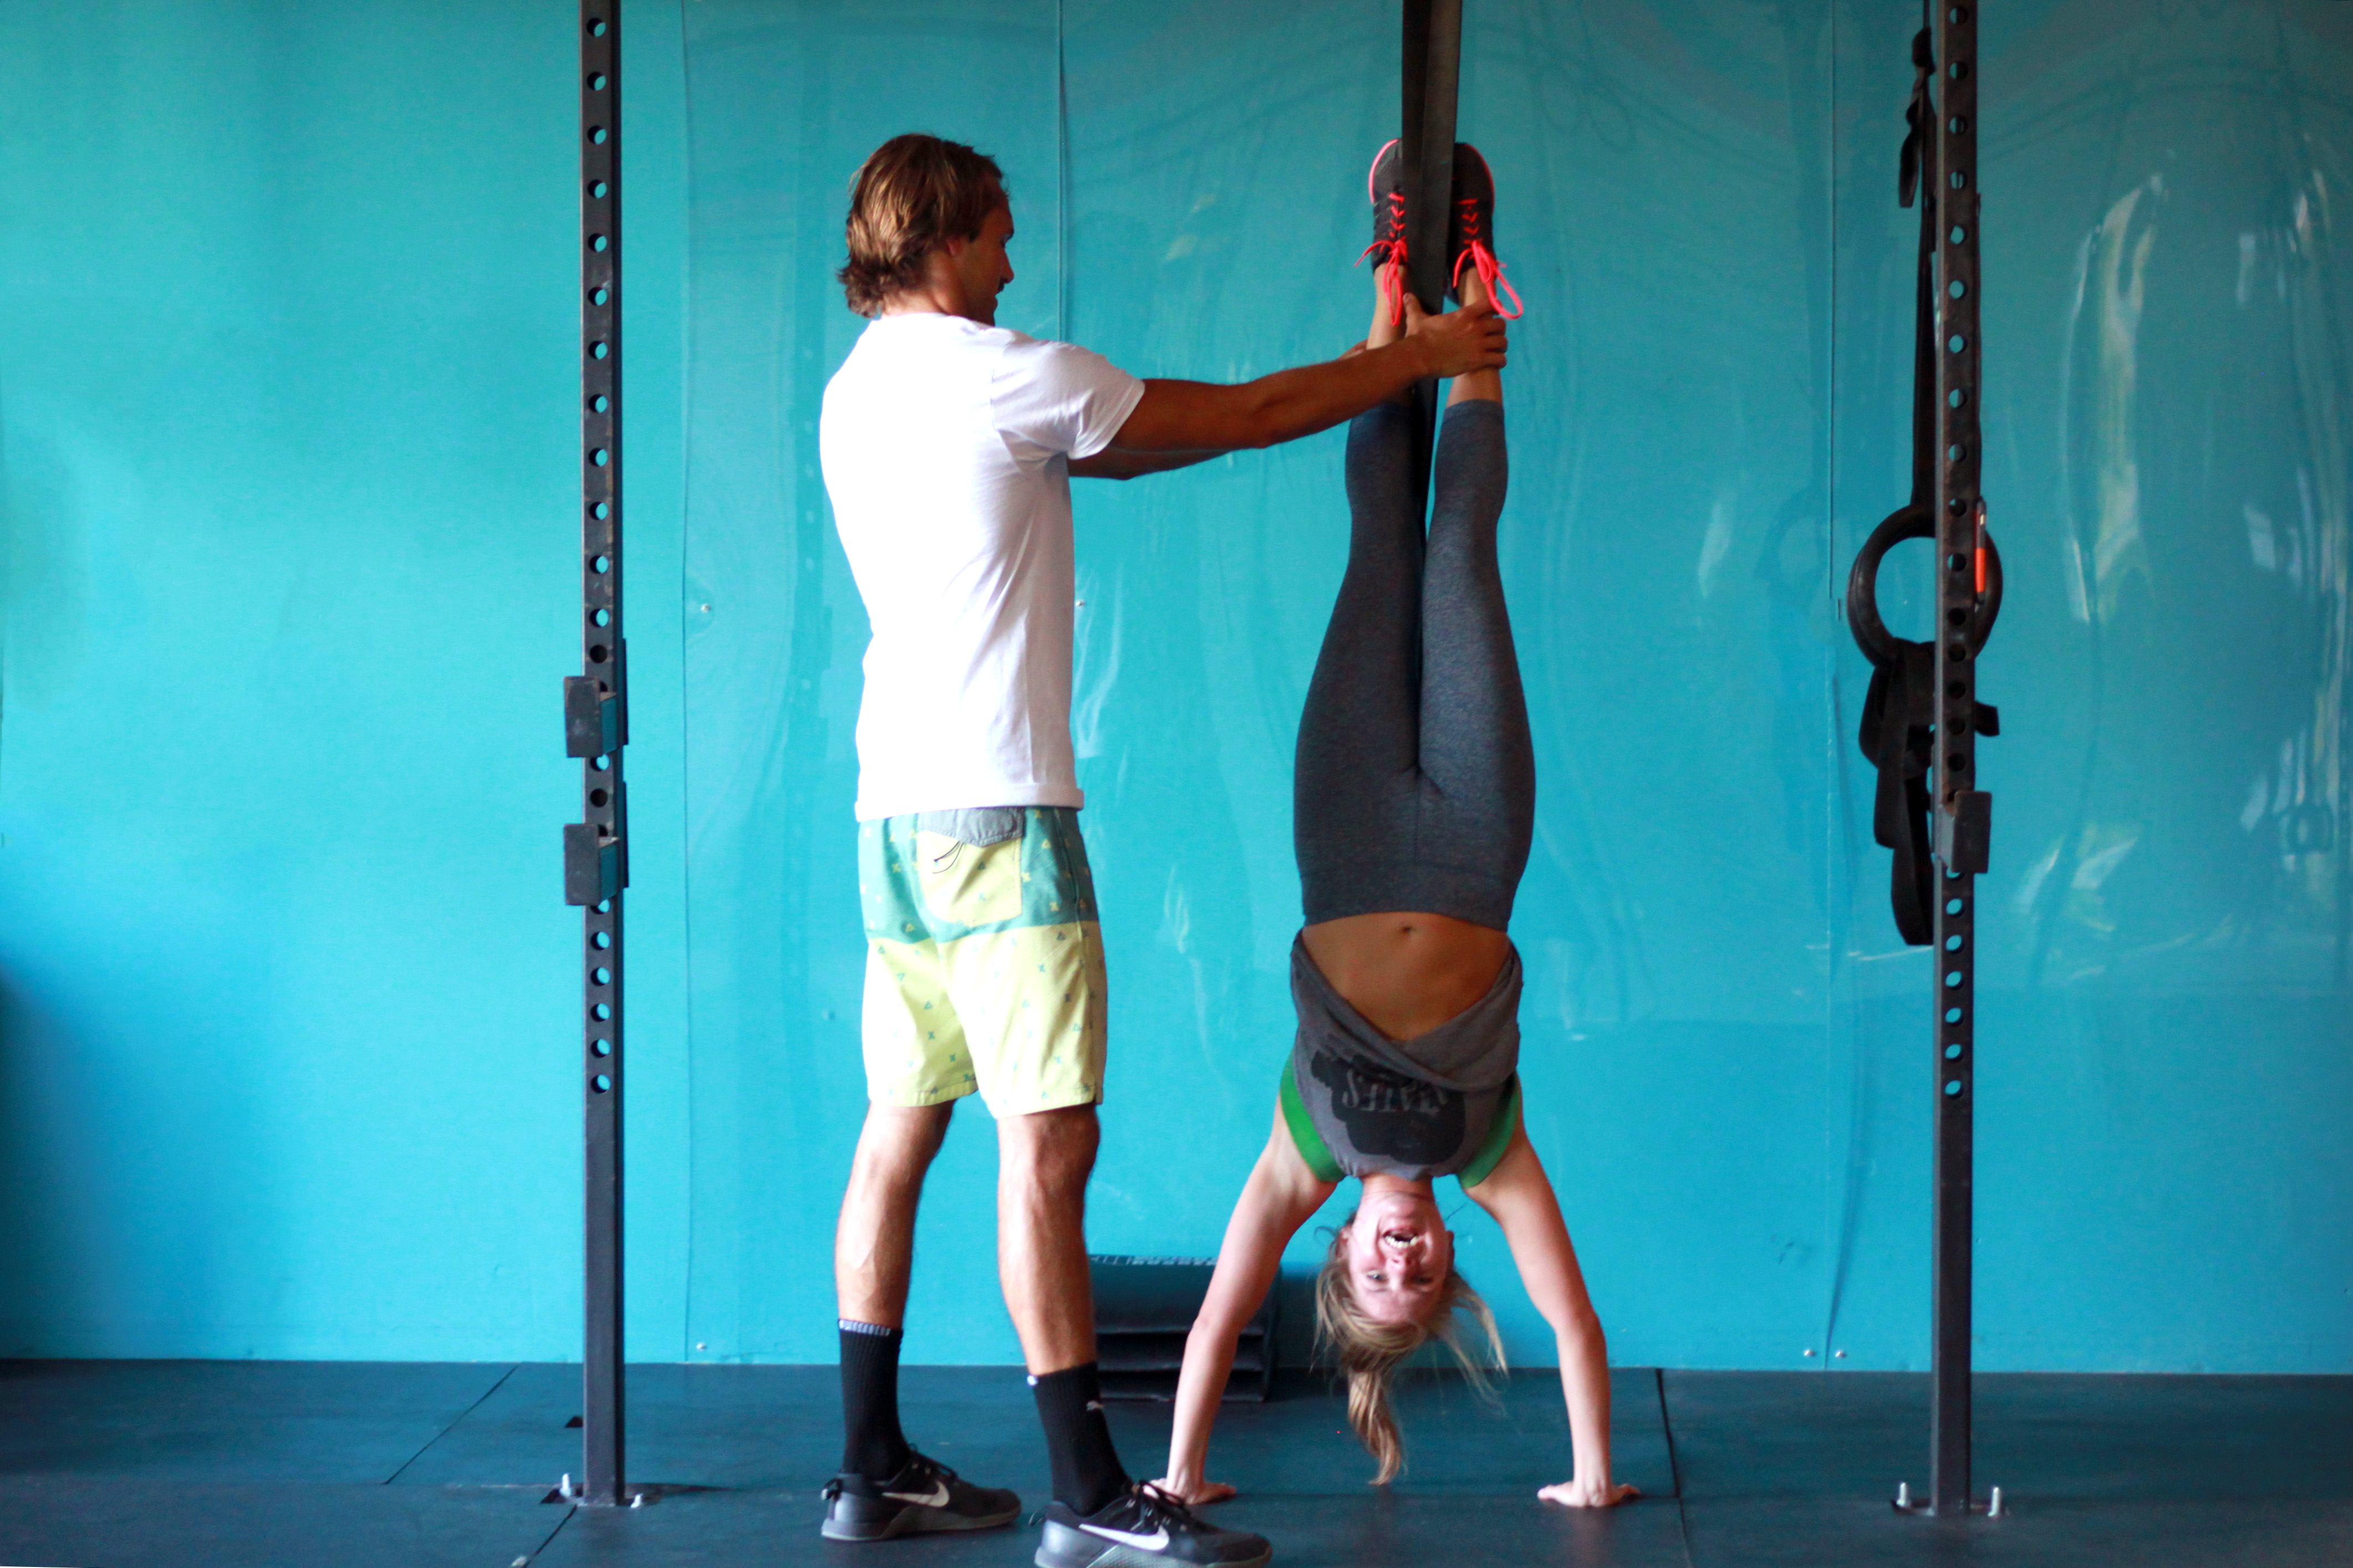

Once you’re in the handstand, you can wrap your legs around the band perpendicular to the rig and hold yourself up as you perform assisted handstand push ups.
